Home
Home  Navigation


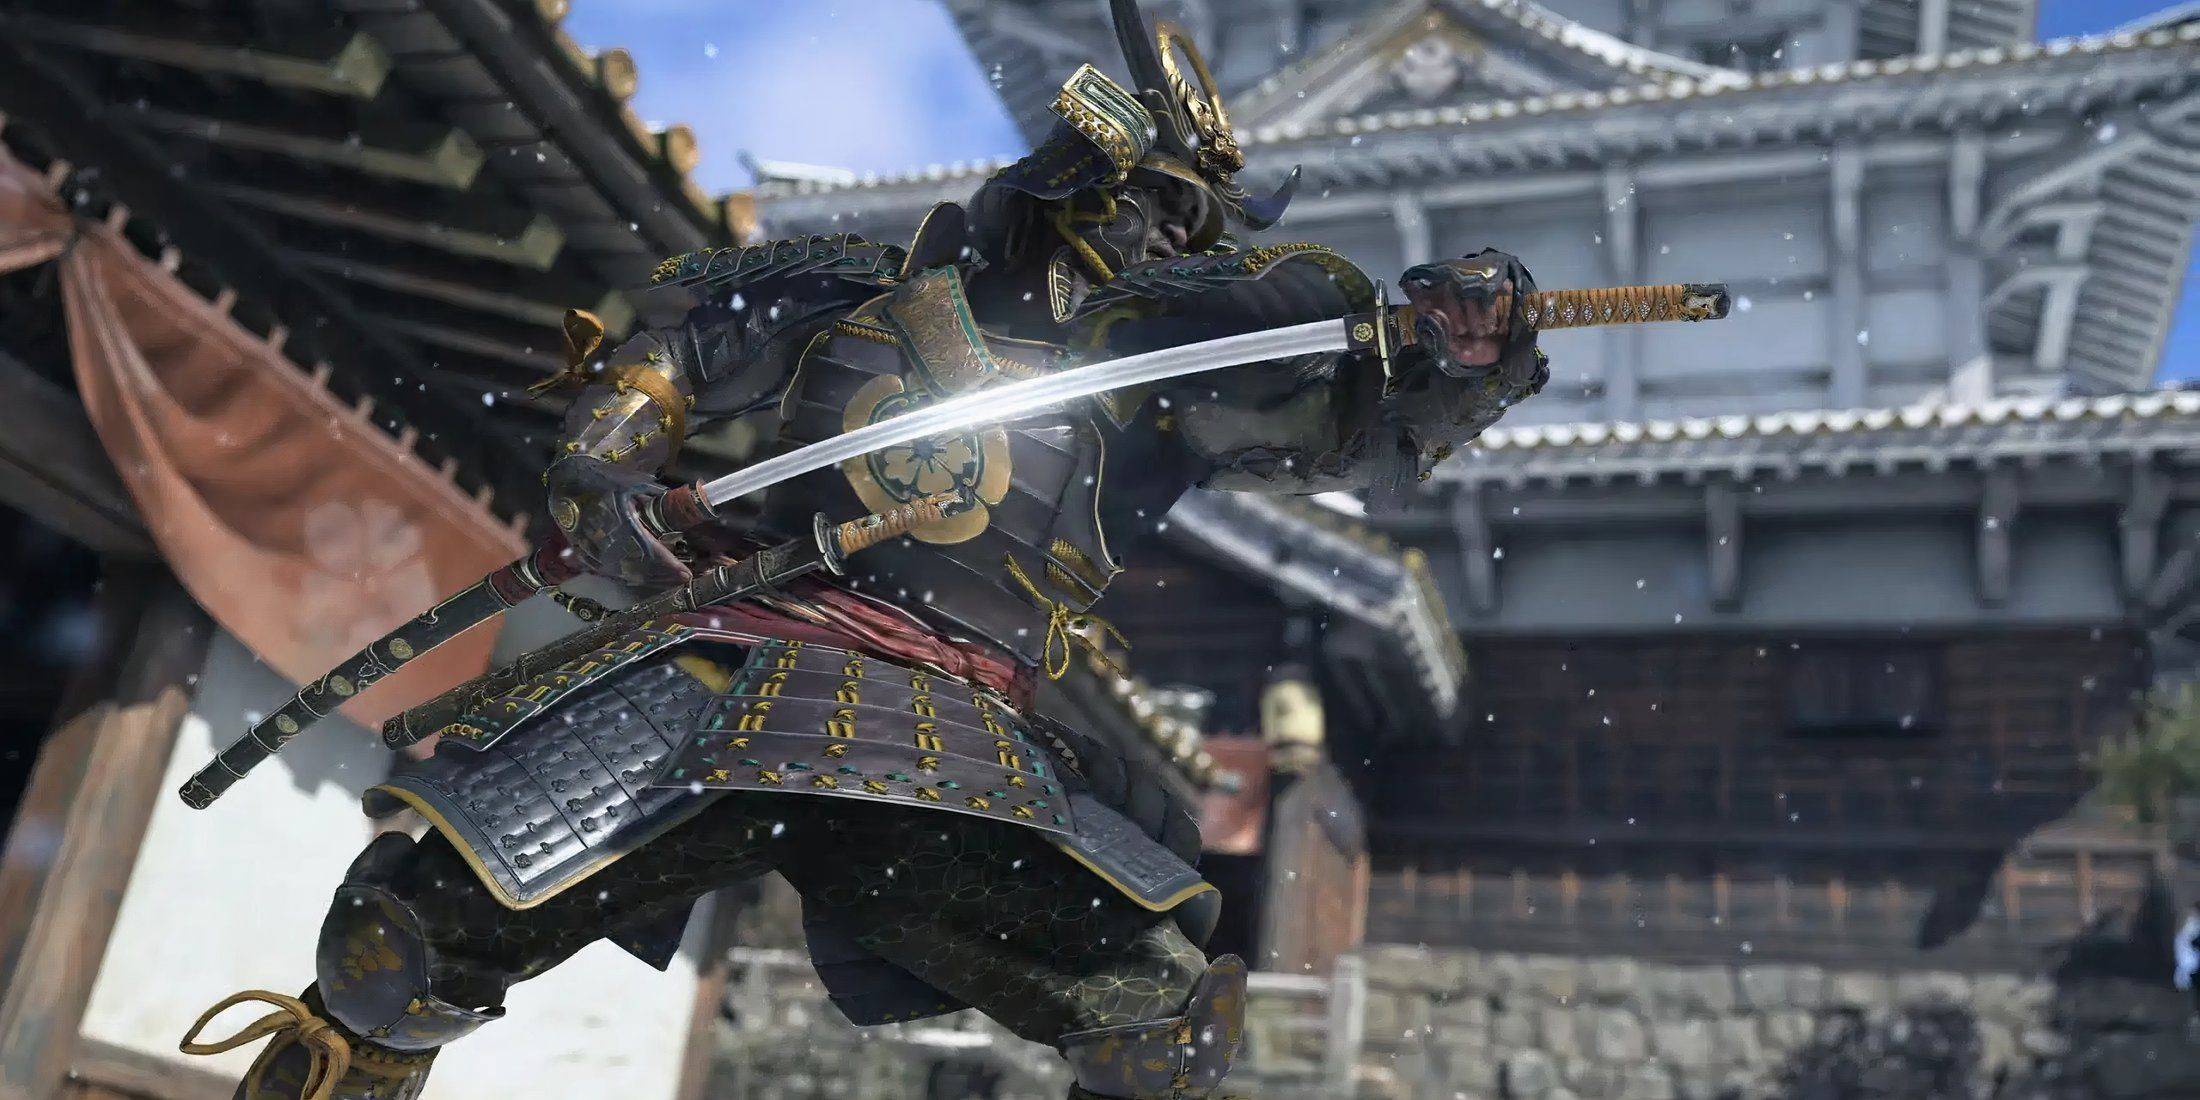
Embarking on an adventure through the unknown region in *Monster Hunter Wilds* can be thrilling, but the harsh weather and cold temperatures add an extra layer of challenge. To make matters worse, you'll encounter three formidable Hirabami, each presenting a tough boss fight. Let's dive into how you can conquer these creatures and capture them for your collection.
Recommended Videos
Table of contents
Monster Hunter Wilds Hirabami Boss Fight Guide Bring Large Dung Pods Use Heavy Slicing Pod Slinger Ammo Utilize Environmental Traps Aim for the Head Watch the Tail How to Capture Hirabami in Monster Hunter Wilds
Monster Hunter Wilds Hirabami Boss Fight Guide
 Screenshot by The Escapist
Known Habitats – Iceshard Cliffs
Breakable Parts – Head and Tail
Recommended Elemental Attack – Fire
Effective Status Effects: Poison (3x), Sleep (3x), Paralysis (2x), Blastblight (2x), Stun (2x), Exhaust (2x)
Effective Items: Pitfall Trap, Shock Trap, Flash Pod
Bring Large Dung Pods
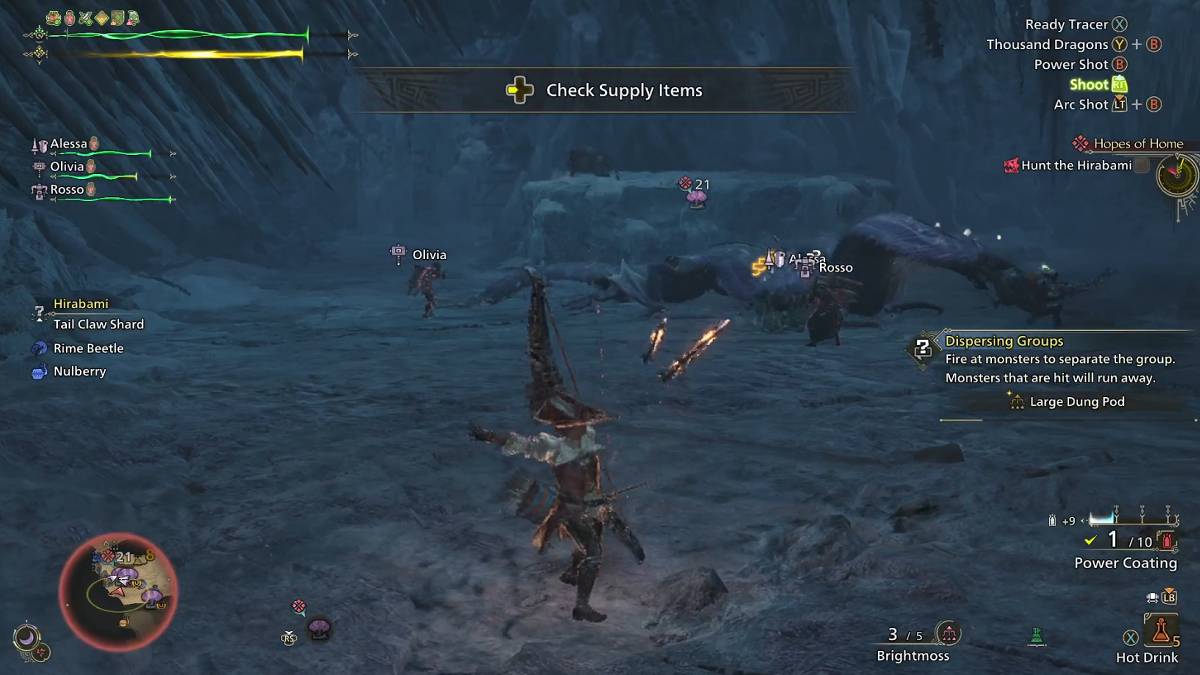
Facing Hirabami in Monster Hunter Wilds can be daunting due to their tendency to stick together in groups. To tackle this challenge, equip yourself with Large Dung Pods. These handy items can disperse the monsters, enabling you to face them one at a time, making the battle more manageable.
Use Heavy Slicing Pod Slinger Ammo
Hirabami's penchant for floating in the air can be a hurdle, particularly for melee weapon users. If you're wielding a Bow, you're in luck, but if not, Heavy Slicing Pod Slinger ammo can be your savior. This ammo can be used with your Slinger to bring the Hirabami down to earth. Should you find yourself without this ammo, aim to sever Hirabami's tail; it will drop a Tail Claw Shard, which can be transformed into the needed ammo.
Utilize Environmental Traps
The Iceshard Cliffs arena is riddled with environmental traps that can turn the tide in your favor. Keep an eye out for Ice Spikes, Floating Rubble, and Brittle Ice Pillars. Dropping one of these on Hirabami can stun and damage the beast, giving you a crucial opening to attack.
Aim for the Head
The head is Hirabami's most vulnerable spot, but reaching it can be tricky due to its aerial maneuvers. Ranged weapon users have the advantage here, while melee users should target the neck when the creature descends. Avoid the torso, as it's heavily armored and less effective to hit.
Watch the Tail
Hirabami's unpredictable movements include biting, spitting, and diving from the sky. These attacks are manageable if you keep an eye on its head. However, don't overlook its tail, which it uses as a hammer-like weapon. Staying mobile and aware of both its head and tail movements is crucial for survival.
Related: All Monster Hunter Wilds Voice Actors
How to Capture Hirabami in Monster Hunter Wilds
 Screenshot by The Escapist
Capturing Hirabami requires lowering its health to 20 percent or below, signaled by a skull icon next to its mini-map icon. Once at this threshold, deploy a Pitfall Trap or Shock Trap to immobilize the creature. Act swiftly to administer a Tranquilizer, as you only have a brief window before Hirabami might escape. Successfully capturing Hirabami will end the fight, granting you the standard rewards, though it might limit your chances of gathering extra materials from breaking its weak spots.
That’s everything you need to know about defeating and capturing Hirabami in Monster Hunter Wilds. Remember to bring Large Dung Pods or use the SOS feature to ease the fight.
Monster Hunter Wilds is available now on PlayStation, Xbox, and PC.
 Latest Articles


 Latest Games